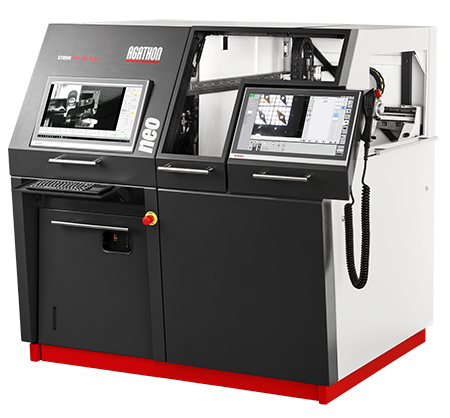
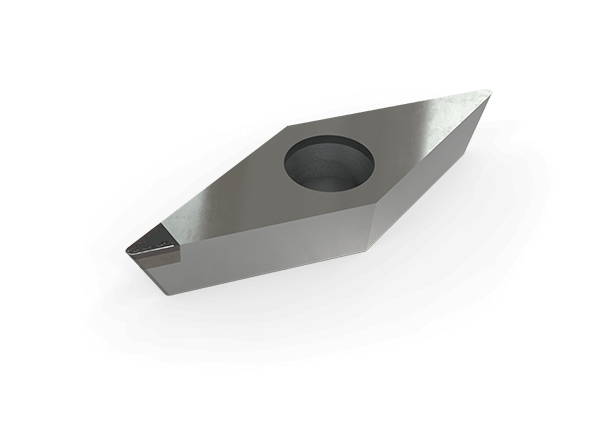
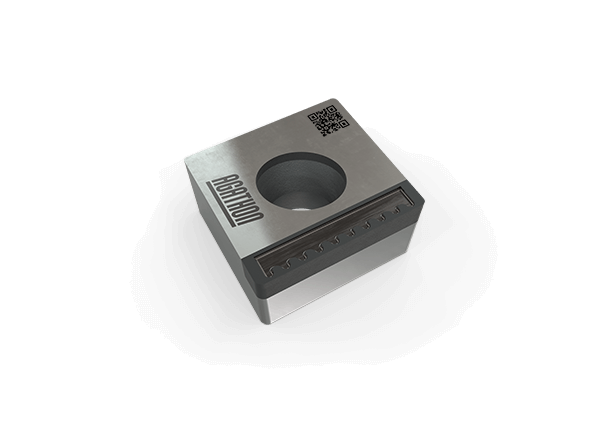
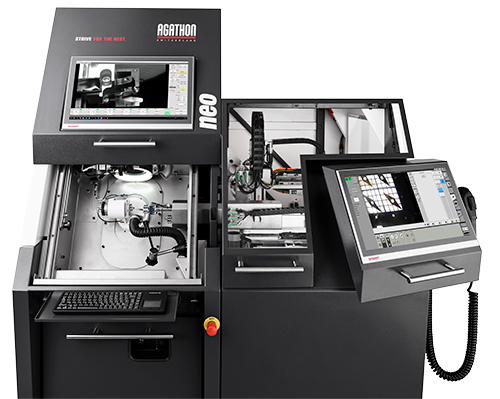
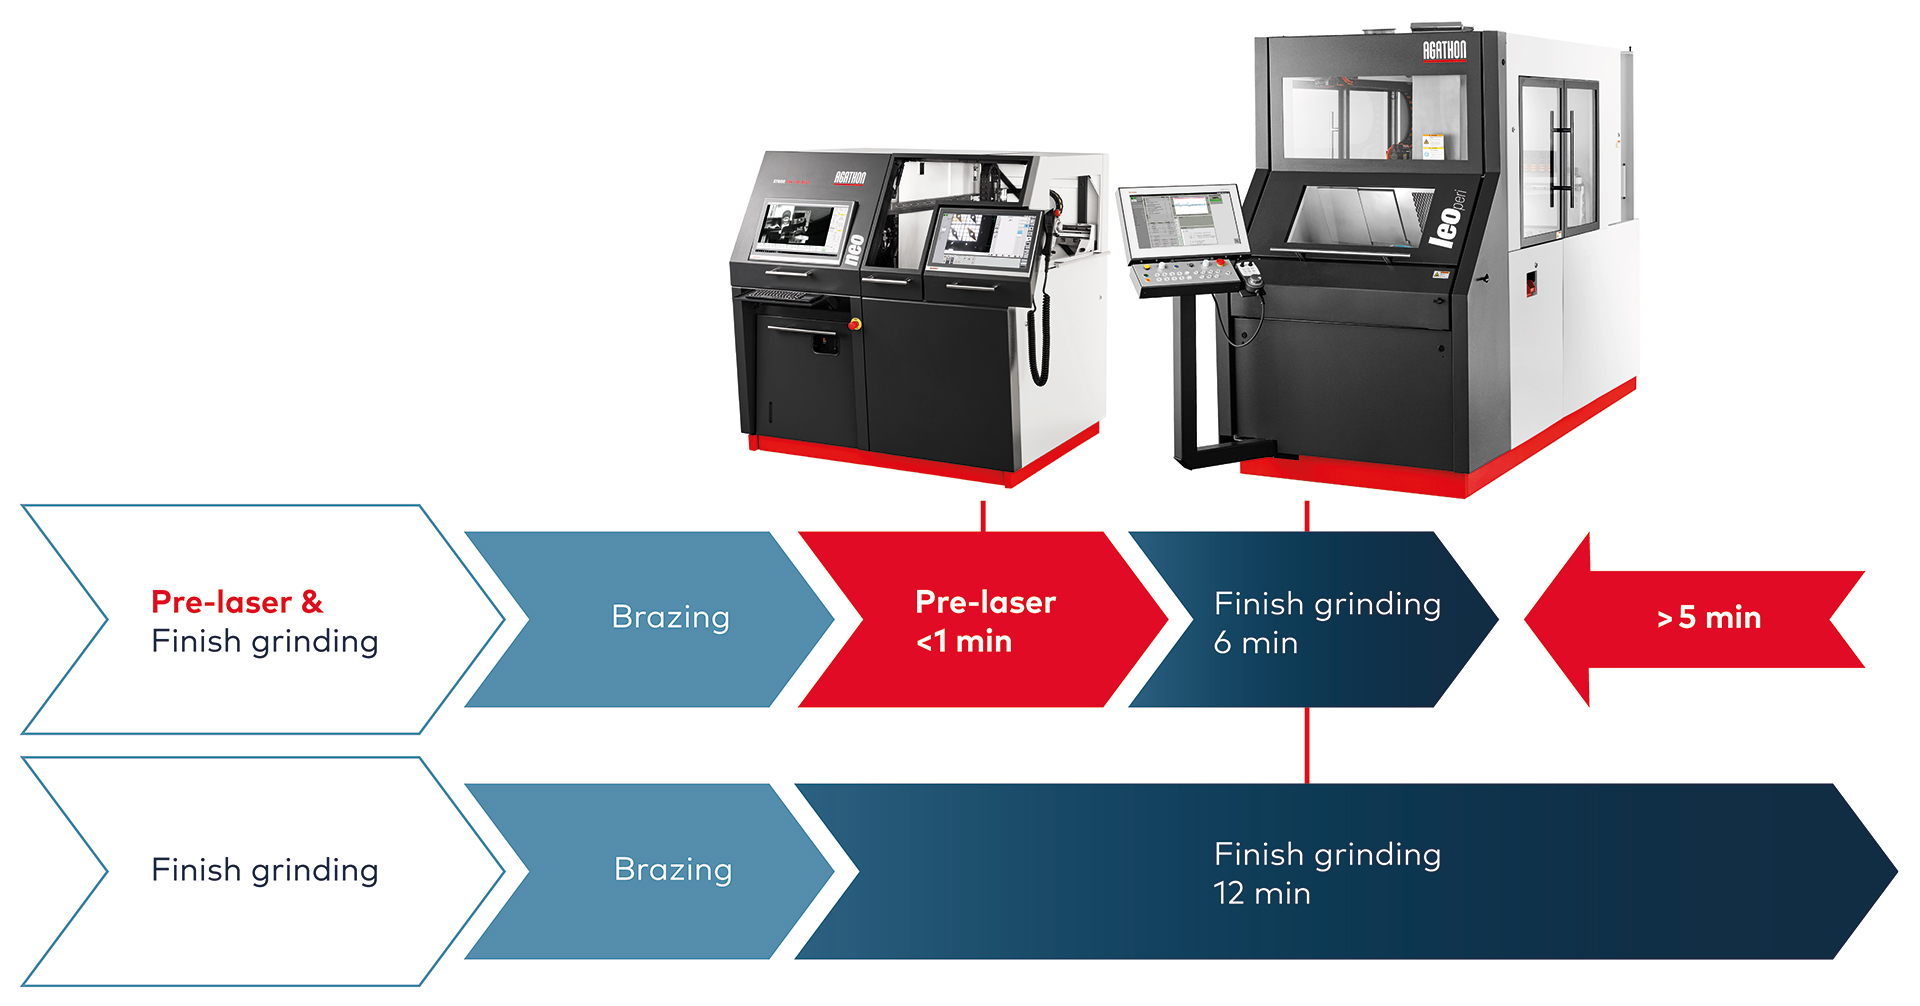
The market is increasingly demanding light materials such as aluminum and carbon-fiber-reinforced plastic (CFRP), and the need for superhard cutting tools is increasing. Until now such tools have been difficult, expensive and time-intensive to manufacture. With the Neo, Agathon has added a laser processing machine to its portfolio that enables highly productive lasering of hard and brittle materials: with a removal rate that is about a hundred times higher compared to grinding! Furthermore, Neo is the best solution currently available for machining holes and concave features.
The two-stage LaserDrill process
- In a first step a cone is removed from the workpiece (see figure 1, picture left). In this step the surface is almost orthogonally irradiated. The resulting walls are not vertical (See figure 1, Picture in the center).
- In the second step, the walls of the cone are machined at a specific angle of incidence by the laser, so that the cone angle can be completely removed. The workpiece is repositioned by the machine’s mechanical axes for this purpose (See figure 1, Picture in the center).
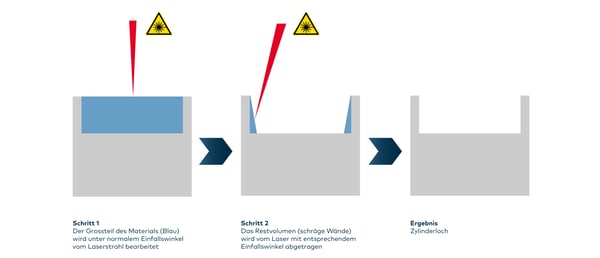
Figure 1: Schematic section of the workpiece. The processed volumes are shown in blue. Figure on left: Step 1 – Cone is removed from the workpiece. Figure in center: The walls of the cone are processed with the laser. Figure on right: Finished result.
To make the process as efficient as possible, the hole is typically divided into several slices around 1 mm thick. The two-stage process is executed on each individual slice. This results in a cylindrical counterbore at the end of processing a slice. This is repeated several times, until the desired depth is reached. This prevents some of the laser energy being absorbed by the walls and converted into heat.
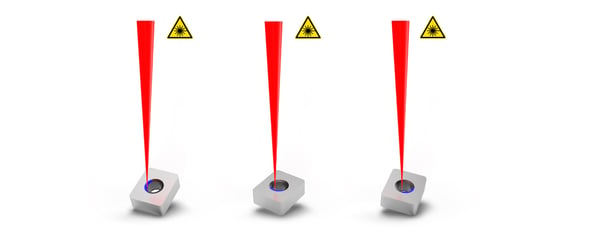
Figure 2: The figure shows a sector in blue (1/4 of the complete ring), which is machined at an angle. Here you can see 3 of the 4 steps for machining the sectors. The workpiece is repositioned for each sector.
The two-stage process makes it possible to remove holes in inserts very quickly and with good quality. Some indications of the possible processing time are given below:
|
Hole |
Workpiece |
Time span |
|
Ø4mm cylinder hole |
4.8 mm hard metal |
12 min |
|
Ø4mm cylinder hole |
4.8 mm solid CBN |
4 min |
|
M4 screw hole |
4.8 mm carbide insert with 0.8 mm PCD |
17 min |
|
M3 screw hole |
4.8 mm carbide insert with 0.8 mm PCD |
6 min |
